

Finding the right tft display module for your next build can be exciting yet overwhelming. With so many tft display module options on the market, how do you choose one for your arduino, ESP32, or raspberry pi project? This guide cuts through the noise. You get a curated list of the best tft display module options based on performance, cost, and ease of use. We focus on size, resolution, and interface. You receive a clear, actionable recommendation. We target hobby electronics projects, including creative diy projects and prototyping. Whether you need a display for rapid prototyping or interactive projects, this guide helps. You’ll understand which TFT display modules fit your arduino, your raspberry pi, or any other electronics project. Let's dive in.
Key Takeaways
-
The 2.4-inch ILI9341 SPI module suits most hobby projects with great community support.
-
Match your display to your microcontroller's pin count and power budget for best results.
-
Always identify the driver chip before you choose a software library for your display.
-
Keep wire lengths under 20 centimeters and use level shifters with 5V Arduino boards.
-
For wearable builds, pick the 1.3-inch ST7789 module to save power and space.
Top TFT Display Modules for Hobbyists
Selecting a display for your electronics projects requires understanding resolution, interface, and driver chip. This section examines five tft display module options that serve different project needs and skill levels. Each module brings unique strengths to your arduino tft display or raspberry pi project, whether you build a simple sensor readout or a complex dashboard.
The Versatile 2.4" ILI9341 SPI Module
The 2.4-inch ILI9341 SPI module stands as the most popular choice among hobbyists. This tft display module delivers a 240x320 pixel resolution with the ILI9341 driver chip. It uses the SPI interface, requiring only a few pins. Operating voltage sits at 3.3V, though many boards include a regulator for 5V logic. Users report a perfect satisfaction score from customer reviews, though the sample size is small. This module earns the tag "Best for beginners and community projects." The extensive community support helps you find many tutorials and library examples for data plotting, game development, and sensor visualization. You build data dashboards, game consoles, and sensor stations with minimal effort. The balance of size, cost, and community support makes this module the default recommendation for most arduino or raspberry pi builds.
The Compact and Colorful 1.8" ST7735 Module
For space-constrained projects, the 1.8-inch ST7735 module provides an excellent solution. This tft display module offers a 128x160 resolution with the ST7735 driver chip. It uses the SPI interface for simple wiring. You operate it at 3.3V logic levels. This module fits prototyping work on breadboards and compact enclosures. The Adafruit GFX library includes the Graphicstest example sketch. This sketch verifies connections and displays animations, lines, shapes, colors, and text. You display text with customizable color, size, and position. You draw lines, rectangles, circles, and filled shapes using simple function calls. You load BMP images from an SD card module on the same SPI bus. Complete project files ship with the library. This module earns the tag "Best for compact and wearable projects." The community provides tutorials for small interactive projects, making this an accessible option for your next diy build.
Beyond these two, three more options deserve your attention. The Adafruit 2.8-inch TFT with capacitive touch delivers premium build quality and excellent library support. You pay a higher price, but you receive a robust touch interface for interactive projects where user input matters. The 1.3-inch ST7789 module targets wearables and battery-powered builds. Its low power consumption and tiny footprint suit small battery configurations. You connect it via the SPI interface for tight spaces. For projects needing larger screen real estate, a 3.5-inch TFT module provides a 320x480 HVGA resolution with the ST7769 driver chip. It operates at 3.3V with a 160-degree viewing angle. You can view content clearly from various positions. This display suits data-heavy dashboards where you present more information.
Each tft display module serves a specific role in your electronics toolkit. Your choice depends on project requirements, available pins, and power constraints. These modules represent the best options across size, cost, and quality. They connect easily to your arduino, ESP32, or raspberry pi for smooth integration into your projects.
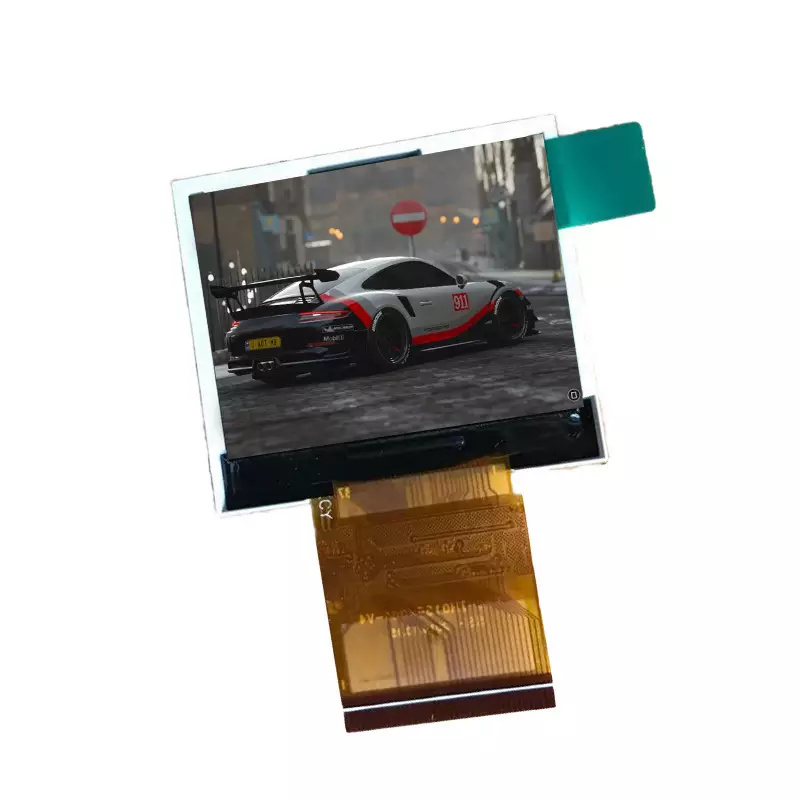
Best TFT Display Module Reviews
This section examines three standout options in detail. You see their strengths and weaknesses clearly. Each tft display module serves a distinct purpose in your electronics toolkit. You match the right screen to your specific project requirements.
Adafruit 2.8" TFT with Capacitive Touch
The Adafruit 2.8-inch TFT with capacitive touch represents the premium tier of hobbyist displays. You receive exceptional build quality from the first moment you handle this board. The capacitive touch interface responds accurately to finger input. You navigate menus and interact with your interface without stylus or pressure. Adafruit provides excellent library support for this tft display module. You find comprehensive documentation and example sketches ready for your arduino or raspberry pi. The display delivers high-quality visual output with vibrant colors and sharp text rendering. You appreciate the integrated touch controller that simplifies your wiring diagram. The main drawback is the higher price point. You pay significantly more for this tft compared to generic alternatives. The investment makes sense for interactive projects where user experience matters. You also benefit from Adafruit's reputation for reliable components. This tft display module suits museum exhibits, interactive art installations, or control panels. The capacitive touch eliminates mechanical wear from repeated button presses. You receive a polished product with consistent performance across temperature ranges. The library ecosystem integrates smoothly with your existing arduino tft display code. You spend less time debugging and more time building your actual project.
The 1.3" ST7789 for Wearables and Small Builds
The 1.3-inch ST7789 module excels in battery-powered and wearable applications. You appreciate its minimal power consumption during operation. The small footprint fits inside compact enclosures and wrist-mounted devices. This tft display module uses the SPI interface, which keeps your pin count low. You connect it easily to microcontrollers with limited GPIO availability. The 240x240 resolution delivers crisp graphics despite the small physical size. You read sensor data clearly even in bright outdoor conditions. The low power draw extends battery life considerably for your portable projects. You find this display ideal for smart watches, fitness trackers, or badge-style electronics. The trade-off involves the smaller viewing area. You cannot display dense dashboards or complex graphs on this screen. The community provides several specialized libraries for this driver chip. You access optimization guides that reduce memory usage further. The build quality varies between manufacturers, so you should purchase from reputable suppliers. You verify the voltage regulator and logic levels before connecting to your arduino. This tft display module earns its place in your collection for compact builds.
The ILI9341 2.4-inch module deserves further discussion here. You benefit from its massive active online community. Thousands of developers share code, tutorials, and troubleshooting advice. You find abundant guides for data plotting and dashboard creation. The robust community support means you rarely encounter unsolvable problems. You search forums and find solutions within minutes. This tft display module offers the best balance of cost and capability. You create weather stations, oscilloscopes, or game consoles with confidence. The strong community support reduces your learning curve substantially. You access optimized graphics libraries that maximize performance on this driver chip. The community support continues growing as more hobbyists adopt this standard. You make a safe choice selecting this display for your arduino or raspberry pi projects. The extensive documentation helps you troubleshoot common wiring issues quickly. You rely on this tft for reliable operation in your daily electronics experiments. The performance characteristics suit real-time data visualization tasks perfectly. This tft display module remains the default recommendation for most hobbyists.
Understanding TFT Display Module Specs
Every tft display module contains a driver chip that translates commands from your microcontroller into visible graphics. This chip manages screen refresh rates, color depth, and power consumption. You must identify the exact driver chip model before selecting a software library. A mismatch prevents your display from functioning correctly. A suitable tft display module ensures smooth integration with your electronics projects.
Decoding Driver Chips: ILI9341, ST7735, and ST7789
The ILI9341 drives 240x320 pixel displays with 262K colors and a RAM buffer for smooth processing. It supports SPI and 8/16-bit parallel interfaces. Features like hardware scrolling and partial updates enable responsive interfaces. This chip sets the standard for larger modules in your arduino projects. The ST7735 and ST7789 target compact builds with lower power consumption. They suit wearable and battery-powered projects.
Different boards share the same driver chip. Libraries from one vendor support hardware from another. This compatibility simplifies your software choices:
-
Libraries like Adafruit_GFX offer a common drawing API across many display types.
-
You pair these with a driver-specific library tailored to your chip.
-
Universal libraries like U8g2 support a wide range of chips but use their own API.
Knowing your driver chip ensures correct library selection. The chip determines your software options and output quality. Good selection improves your overall project quality.
SPI vs. Parallel Interfaces: Which is Easier?
SPI uses fewer pins and simplifies wiring. For an arduino display, you connect CLK, MISO, MOSI, CS, and D/C pins. The table shows a typical SPI configuration for a tft display module:
|
Display Pin |
Arduino Connection |
|---|---|
|
CLK |
SPI Clock (Digital 13 on Uno) |
|
MISO |
SPI MISO (Digital 12 on Uno) |
|
MOSI |
SPI MOSI (Digital 11 on Uno) |
|
CS |
Digital 10 (Chip Select) |
|
D/C |
Digital 9 (Data/Command Select) |
You also connect 3-5V Vin to the 5V pin and GND to ground. Many modules include a voltage regulator for 3.3V logic. This setup suits most electronics projects.
A parallel interface provides faster data transfer. You send 8 or 16 bits of color data simultaneously during each write cycle. This speed benefits high-resolution screens or video. Most hobby projects do not require this performance. The parallel interface demands more pins and complex wiring.
You choose SPI for ease of use. Most hobbyist tft display module options use SPI exclusively. The ST7735 and ST7789 appear on small modules. The ILI9341 remains standard for larger screens. You select the interface type at purchase. The interface choice affects your wiring and available pins. Each tft display module balances performance with practicality.
How to Select a TFT Display Module
Selecting the right tft display module requires a structured approach. You must evaluate your project's constraints before browsing catalogs. This decision framework helps you match hardware capabilities to your actual needs. You avoid costly mistakes and unnecessary delays in your electronics workflow.
Matching the Module to Your Microcontroller
Your microcontroller determines which tft display module options remain viable. Start by asking two questions: What controller do you use, and how many free pins remain after your other connections? An Arduino Uno offers limited memory and a modest pin count. You should choose a 1.8-inch or 2.4-inch SPI module for this platform. These displays operate reliably with the Uno's 16MHz clock speed and 2KB of SRAM. The SPI interface consumes only four or five digital pins, leaving room for sensors and actuators.
An ESP32 changes the calculation entirely. This controller provides more GPIO pins, faster clock speeds, and greater RAM. You can drive larger displays with higher resolutions. You might select a 3.5-inch module with a parallel interface for data-heavy dashboards. The ESP32 handles the increased processing load without stuttering. You also gain access to multiple SPI buses, which simplifies connecting additional peripherals alongside your display.
Consider your Raspberry Pi projects separately. Single-board computers offer substantially more processing power than microcontrollers. You can drive high-resolution tft display modules through HDMI or GPIO interfaces. The Raspberry Pi handles complex graphics rendering effortlessly. Your choice depends on the operating system and graphics stack you plan to deploy.
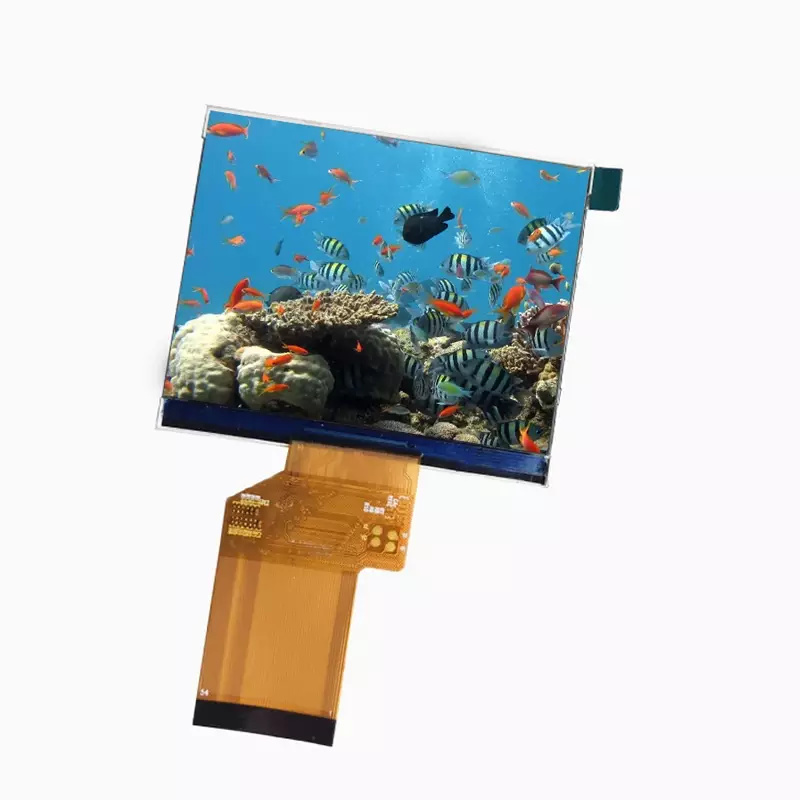
Balancing Size, Resolution, and Power Needs
Physical dimensions and electrical requirements interact in predictable ways. Larger displays consume more current during operation. A 3.5-inch tft display module draws considerably more power than a 1.3-inch variant. Battery-powered projects demand careful attention to this relationship. You extend runtime by selecting the smallest display that presents your data clearly.
Resolution affects memory usage and rendering performance. A 240x320 pixel display requires substantial framebuffer memory. Your microcontroller must store pixel data before sending it to the screen. Higher resolutions demand faster processors and more RAM. You balance visual clarity against processing overhead. A 128x160 display suits simple sensor readouts. A 320x480 screen supports detailed graphs and multiple data panels.
Check documentation quality before purchasing any tft display module. Reputable suppliers like buydisplay.com provide detailed documentation, including pinout diagrams and initialization sequences. This documentation accelerates your prototyping phase considerably. You avoid guesswork during wiring and software configuration. Good documentation also indicates supply longevity. Manufacturers who invest in technical resources typically maintain consistent production runs. You select a display with confidence when you verify these details upfront. This diligence ensures compatibility with arduino and raspberry platforms alike, delivering reliable performance across your electronics projects.
Arduino TFT Display Compatibility and Setup
Most tft display module options work seamlessly with Arduino boards. Your success depends primarily on selecting the correct software library. The library translates your code into commands the driver chip understands. A mismatch between library and hardware produces blank screens or garbled graphics. You avoid this frustration by verifying your driver chip model before writing any code.
Popular Libraries: Adafruit GFX and TFT_eSPI
Adafruit GFX serves as the foundation for rapid prototyping. This library prioritizes ease of use, stability, and broad compatibility across many display types. You find extensive documentation and a large community ready to assist with troubleshooting. Beginners benefit from predictable behavior and straightforward function calls. You draw shapes, render text, and display images with minimal setup overhead.
TFT_eSPI targets performance-critical applications. This library delivers significantly higher refresh rates on ESP32 systems through optimized SPI communication. You access pre-configured settings for hundreds of display modules, reducing your configuration time substantially. Advanced users appreciate the fine-grained control over rendering parameters. The library supports touchscreen input and various font formats. You choose TFT_eSPI when your arduino tft display project demands maximum speed and responsiveness.
Your choice between these libraries depends on project complexity. Adafruit GFX suits teaching environments and early-stage development. TFT_eSPI excels in production-quality builds where every millisecond matters. Both libraries maintain active development and strong community support. You can switch between them later if your requirements change.
Common Wiring Pitfalls and How to Avoid Them
Wiring errors account for most display failures in hobby electronics. You prevent these issues by understanding the typical mistakes and their solutions.
|
Wiring Mistake |
Root Cause |
How to Avoid |
|---|---|---|
|
Pinout misreading |
Manufacturers allocate CS, DC, and RESET pins differently even with identical driver ICs |
Create physical pin mapping checklists matching the module's documentation to the microcontroller's pinout diagram |
|
Power instability |
A 4.3-inch screen with active backlight consumes 150–250 mA at startup, exceeding USB connectors |
Verify 3.3V or 5V rails remain within ±5% tolerance under load using a multimeter |
|
Signal interference |
80 MHz SPI data lines vulnerable to EMI from motors and relays |
Keep wire lengths under 20 cm and use shielded cables |
|
Driver IC mismatch |
Budget modules may claim ILI9341 compatibility but use ST7735 controllers |
Verify the actual driver IC against the datasheet before purchase |
|
Software initialization errors |
Forgetting hardware reset pin or lighting PWM channel setup |
Test initialization sequences at temperature extremes |
Logic level mismatches create another common problem. Many tft display modules operate at 3.3V logic levels. Your Arduino Uno outputs 5V signals on its digital pins. Connecting these directly can damage the display driver. You use level shifters to convert 5V signals down to 3.3V safely. Some modules include onboard regulators that accept 5V input. Check your module's specifications before connecting power rails.
Quality wiring practices improve your compatibility with arduino systems. Color-coded jumper wires reduce confusion during assembly. Photograph your completed wiring before applying power. This documentation helps you debug issues quickly. You also consult manufacturer guides for specific initialization sequences. Reputable suppliers provide detailed technical documentation that accelerates your setup process.
These practices apply equally to raspberry pi projects. The pi operates at 3.3V logic levels, matching many tft display modules directly. You still verify pin assignments against your specific board revision. Strong community support exists for both platforms, ensuring you find solutions to unusual problems. Your electronics projects benefit from careful planning and methodical testing.
Comparing TFT and Other LCD Display Module Types
Your choice between display technologies shapes your project's performance, cost, and user experience. Understanding how tft display modules compare to alternatives helps you make an informed decision for your electronics builds.
TFT vs. OLED: Brightness, Lifespan, and Cost
TFT LCD panels and OLED screens serve different priorities. The table below summarizes key differences:
|
Comparison Aspect |
TFT LCD Display |
OLED Display |
|---|---|---|
|
Brightness |
Achieves 1,000 to 2,500 nits; maintains visibility under direct sunlight |
Typically lower brightness levels; struggles with glare outdoors |
|
Lifespan |
Longer lifespan; no burn-in risk; consistent image quality |
Prone to image retention and burn-in with static images |
|
Cost |
More cost-effective due to mature supply chains |
Typically more expensive, especially for larger panels |
A tft display module delivers superior brightness for outdoor projects. You read sensor data clearly under direct sunlight. OLED screens struggle with glare and washout in bright conditions. Your weather station or outdoor dashboard benefits from this visibility advantage.
Lifespan considerations favor TFT technology. OLED organic materials degrade over time, especially with static elements like status bars or logos. A tft display module maintains consistent image quality throughout its operational life. You avoid premature replacement costs for always-on interfaces.
Cost matters for budget-conscious hobbyists. The mature supply chain for TFT panels keeps prices competitive. You allocate more of your budget to sensors or microcontrollers rather than display hardware. OLED technology commands a premium, particularly for larger screen sizes.
When to Choose a Character LCD Instead
Character LCDs remain relevant for specific use cases. These simple lcd display module options excel at text-only readouts. You display temperature, humidity, or voltage values without graphics complexity. The table below illustrates suitable applications:
|
Use Case |
Character LCD Suitability |
TFT Suitability |
|---|---|---|
|
Basic status displays |
Highly suitable – low cost, simple I²C interface |
Overkill – adds complexity without benefit |
|
Sensor readouts (numeric values) |
Suitable – clear text output |
Suitable but requires more setup |
|
Raspberry Pi Pico prototyping |
Best choice – reliable, no drivers or calibration |
Not recommended – requires drivers and gamma tuning |
A hobbyist building a weather station chose a character lcd display module for its low cost. The project displayed temperature and humidity data. The character LCD proved practical for basic text output. A tft display module would add unnecessary expense and wiring complexity for such straightforward requirements.
Character LCDs demand fewer system resources. They consume less power and require minimal processing overhead. Your arduino or raspberry pi runs longer on battery power with this display type. The simple command interface reduces your code complexity substantially.
However, character LCDs lack color and graphics capabilities. You cannot render charts, icons, or touch interfaces. For interactive projects requiring high-quality visual output, a tft display module remains the superior choice. The arduino community offers extensive libraries for TFT graphics, ensuring smooth compatibility across platforms.
Your decision hinges on project requirements. Text-only readouts favor character LCDs. Rich graphical interfaces demand TFT technology. Consider your power budget, available pins, and user expectations before selecting your display.
The 2.4-inch ILI9341 SPI tft module remains your top pick for most hobby electronics projects. This tft display balances size, cost, and community support. You receive community tutorials for arduino and raspberry pi development.
Your specific constraints determine the best choice. Evaluate your pins, power budget, and space. A simple rule of thumb guides you:
If you're just starting, buy a 2.4" ILI9341 SPI module. If you're building something tiny, go for the 1.3" ST7789.
Check your lcd display module documentation. Use an lcd display module from a reputable supplier for clear guidance. Start prototyping your display project today. Many guides help integrate these displays into your diy electronics builds and arduino projects. Your raspberry pi builds benefit equally.
FAQ
Do you need a level shifter for your Arduino?
A standard Arduino board outputs 5V signals. Many tft modules expect 3.3V logic. A level shifter prevents damage to your display controller. Some modules include onboard regulators. Always verify your module specifications before connecting power.
Can you use one library for different displays?
Adafruit GFX supports many driver chips through a common API. You pair it with a backend for your specific chip. The community maintains libraries for ILI9341, ST7735, and ST7789. This compatibility saves you significant development time for new electronics projects.
Which display fits wearable builds best?
The 1.3-inch ST7789 module consumes minimal power. You extend battery runtime considerably for portable projects. Its compact footprint suits wrist-mounted devices. The community provides power optimization guides for low-power configurations.
How does capacitive touch differ from resistive?
Capacitive touch responds to your finger without pressure. It provides smoother interaction for your display interface. The Adafruit 2.8-inch module offers this premium feature. You pay more but eliminate mechanical wear. Choose it for interactive dashboards where user experience matters.
How do you confirm your driver chip model?
Read the markings on your tft module. Check your supplier's documentation for the exact chip. Reputable sellers provide detailed specs with every display. The driver determines your software library options. A mismatch produces a blank or garbled screen.
 Network Supported